
Elevation
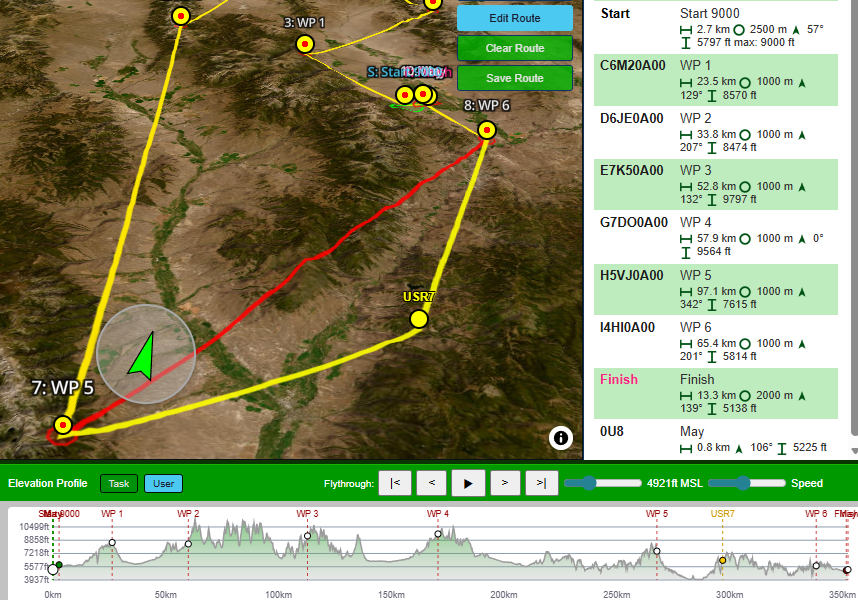
The tracker draws the terrain beneath your task as a height profile, and lays the glide path over it while you are on task.
Where the data comes from
How it works
- When a task is loaded and "Elevation Auto-Load" is on, SSC-Tracker downloads the SRTM tiles needed for the area of the route by itself.
- Once downloaded, the height profile along the route is calculated.
- The profile is then available to the map and to Preflight.
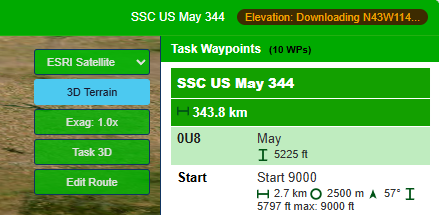
A note on the first run: the first time you load a task, the SRTM tiles have to be
downloaded. Depending on your internet connection that takes anywhere from seconds to minutes.
From the second load on, the cached tiles are used straight away.
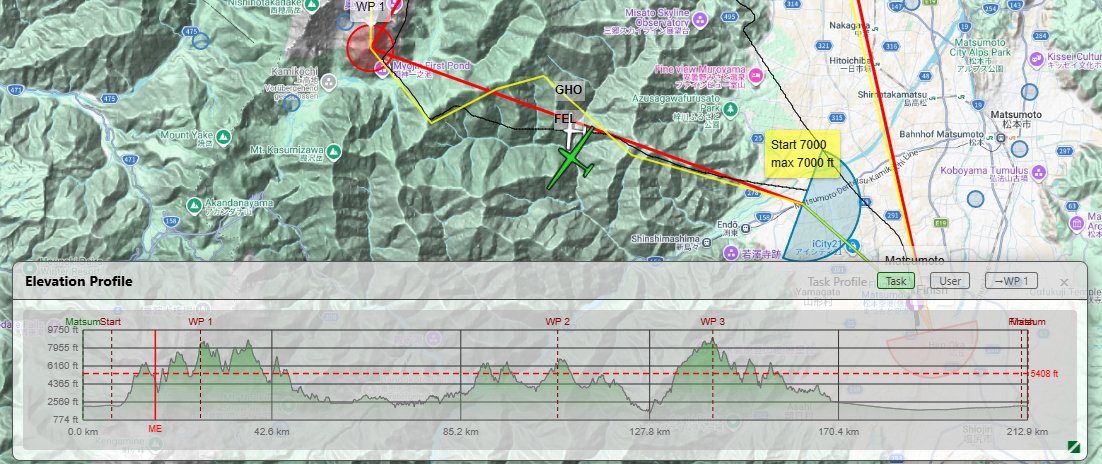
The height profile on the map

The strip along the bottom of the map. It has a header of its own with everything you need in flight:
| Control | Effect |
|---|---|
| Task | Profile over the whole task, from start to finish |
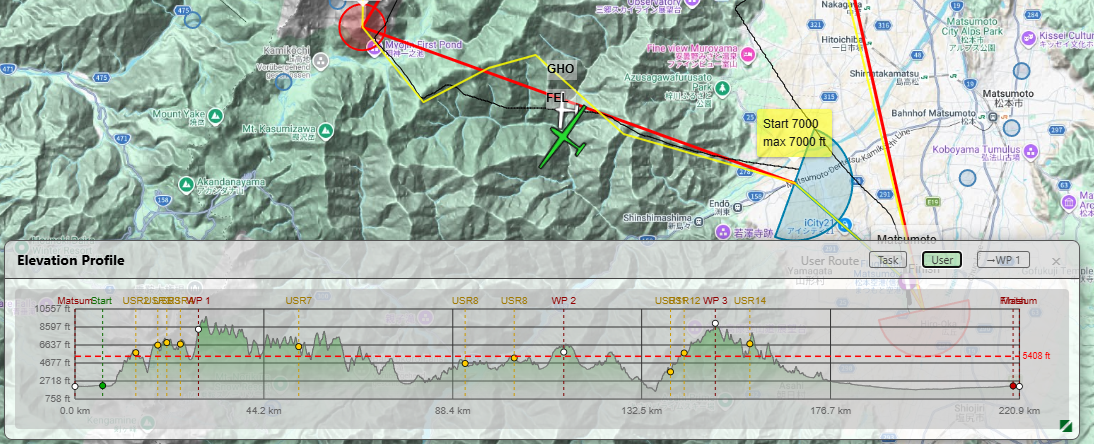
| User | Profile along your own drawn route (see below) |
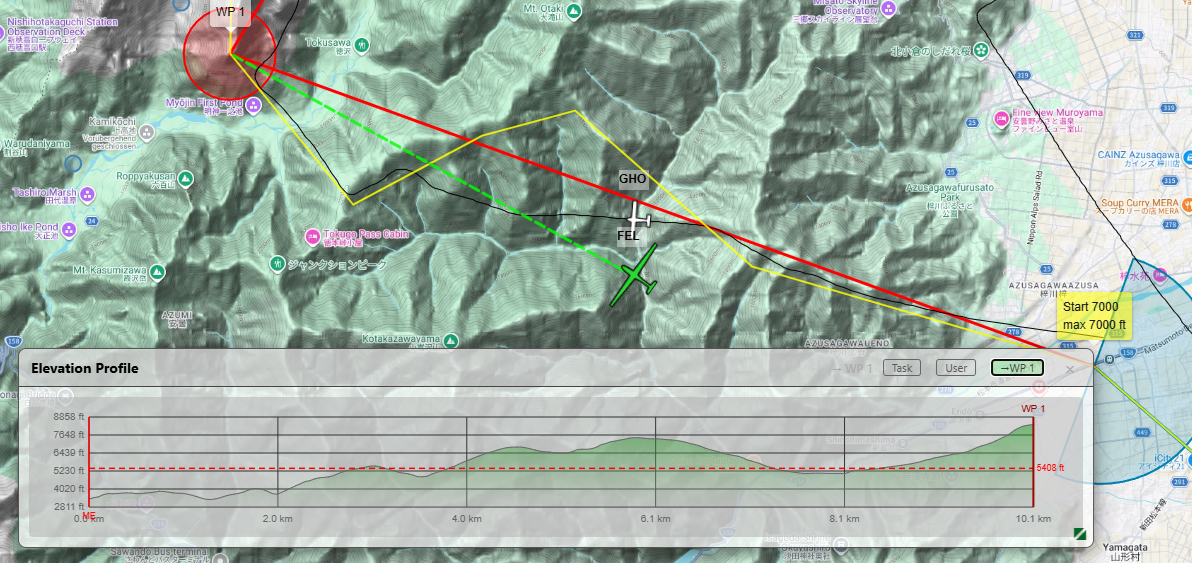
| → WP | The current leg only, up to the next turnpoint |
| − / + | MacCready in steps of 0.5 - the glide path follows at once |
| MC x.x | The value that is set; the same number as in the Mini FC and in the app |
| ✕ | Close the strip |
The strip can also be docked or left floating, and dragged to change its height.
What the picture shows
- The terrain line with the filled area beneath it - that is the ground along the route.
- The glide path from your current position, worked out with the MacCready value you have set.
- Turnpoints as vertical marks with names; circles show the arrival height at each point.
- Minimum and maximum heights of the task as bars - which is also how you spot the maximum start height.
- The info line on the left reports what currently applies or is missing (that terrain data is still being loaded, for instance).
Your own route (User)
You are not tied to the task: you can draw a route of your own on the map - the detour along the ridge you actually intend to fly, say. User then shows the profile of that route instead of the direct legs. The route is stored in the tracker and comes from Preflight.
The Elevation module in the Overlay
The Overlay has the same section as a module of its own, with TASK / WP and the MC stepper - right there in the cockpit, without opening the map. See MSFS In-Game Panels.
Managing terrain data
Managing the cache files
The downloaded SRTM tiles are stored in the DEM subfolder of the task folder. Each tile covers one degree of latitude by one degree of longitude and is about 25 MB uncompressed. Fly in many different regions and the cache can grow noticeably.
The tiles can be deleted at any time without risk - SSC-Tracker downloads them again when it needs them.
Opening the cache folder: in the settings under Elevation, click the button beside the cache size. That opens the DEM folder directly in Windows Explorer, where individual or all .hgt and .hgt.gz files can be deleted by hand.
Status query
The current status of the elevation service can be queried at http://localhost:55055/elevation/status.
When there is nothing to see
If the profile stays empty, the tiles for that area are missing. Auto load has to be switched on in the settings under Elevation - then the tracker fetches them as soon as a task is loaded. Without internet, only what is already in the cache is available.